 Snap Eighteen
How to Print Photos from an Event for Your Wall
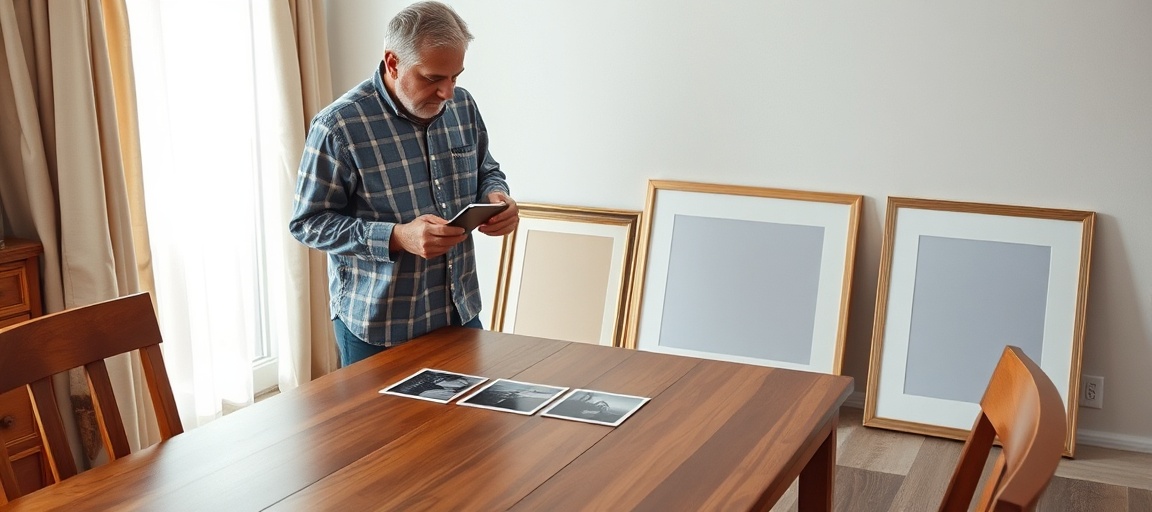
A practical guide to downloading original files, checking pixel sizes, cropping for frames, and printing phone photos that look sharp on your wall.
Get the original file, not a preview
Shared albums often hold hundreds of images by the time an event wraps up. Before doing anything else, make sure you have the original file saved to your device. Messaging apps and social media feeds compress pictures aggressively to save data, stripping out the detail required for physical printing. A file that looks clear on a six-inch screen will look blurry or noisy once enlarged to fit a frame.
If guests contributed to an album through a platform like Snap Eighteen, Google Photos, or iCloud Shared Albums, download the image directly at full resolution instead of taking a screenshot. Check the file information in your photos app. For clean prints, look for a file size between 2 megabytes and 8 megabytes, with dimensions around 3000 by 4000 pixels or larger.
Calculate your maximum print size
Print sharpness is measured in dots per inch, or DPI. Handheld prints like 4x6 snapshots require roughly 300 DPI to show crisp edges and facial details. Wall prints can drop to 150 to 200 DPI because people view them from several feet away, where the human eye naturally blends fine details together.
To find the ideal print size for any image, divide its pixel dimensions by your target DPI. Most modern phone cameras capture roughly 4032 by 3024 pixels on standard settings. Dividing both numbers by 300 gives 13.4 inches by 10 inches. That means standard uncropped phone photos can print up to 11x14 inches at photo-lab quality without any digital upscaling.
- Handheld viewing (albums, desks): 300 DPI
- Arm-length viewing (mantels, small frames): 200 to 240 DPI
- Wall viewing (hallways, living rooms): 150 to 180 DPI
Filter for storytelling and light
Resist the urge to print dozens of standard group portraits. Formal lineups often feel stiff when displayed in a home. Look instead for unposed candids, spontaneous reactions, or wider environmental shots that capture what the evening actually felt like.
If you plan to hang a series of two or three frames side by side, review the images together on your screen. Check that their lighting conditions match. Placing one dim, yellow indoor shot between two bright, daylight photos creates visual discord. Group photos that share similar color temperatures, whether warm indoor incandescent lighting or cool outdoor shade.
Crop and adjust for paper
Phone screens are backlit, which means digital images always appear brighter and punchier than paper. Prints rely on reflected ambient room light. Because of this difference, raw files straight from a phone often print darker and flatter than expected.
Open your chosen file in your phone's built-in editor. Lift the shadow slider by five to ten percent to prevent dark hair and jackets from turning into solid black shapes. Avoid adding strong saturation or sharpening filters, as over-sharpened edges produce harsh white outlines on physical paper.
Most phone sensors capture images in a 4:3 aspect ratio. Standard frames and print mats use ratios like 3:2 for 4x6 prints or 5:4 for 8x10 prints. Crop the photo yourself before sending it to a lab. If you leave the crop to the automated printing software, it may slice off the tops of heads or hands on the edges.
Select paper finish and matting
Glossy paper offers vibrant color and deep blacks, but it reflects every ceiling light and window in the room. In bright rooms, the glare can make the picture hard to see from an angle. Glossy paper can also stick to frame glass over time if mounted without a spacer.
Matte paper eliminates reflections completely and gives a subtle, art-print appearance. The tradeoff is contrast: blacks look dark gray rather than deep ink black. Lustre or satin paper sits between the two options. It holds deep contrast while resisting fingerprints and reflections, making it the most reliable choice for framed wall art.
Adding a mat inside the frame elevates the print instantly. A wide white or warm off-white border gives the photo breathing room and hides slight framing inaccuracies. It also keeps the paper physically separated from the glass, preventing moisture damage.
Order proof prints before framing
Never order a large, expensive frame or an 18x24 print without testing first. Print your final selects as standard 4x6 proofs at your local lab or online printer. This costs very little and takes only a day or two.
Take the 4x6 prints into the exact room where the final art will live. Hold them against the wall under morning light, afternoon sun, and your evening lamps. If the skin tones look too red or the background details disappear in your home lighting, make small exposure adjustments on your phone before ordering the final large prints.
Questions
Can I print a phone photo as large as 16x20 inches?
Yes, provided the original image was not heavily cropped. At 16x20 inches, a full-resolution 12-megapixel phone photo prints at around 200 DPI, which looks clean and sharp from standard wall viewing distances.
Why do my printed photos look darker than they did on my phone?
Phones emit light from behind the screen, making colors look brighter and more saturated. Paper only reflects room light, which naturally reduces brightness. Brighten your shadows slightly in an editing tool before printing.
What aspect ratio should I crop my photos to for standard frames?
Crop to 4:5 for 8x10 or 16x20 frames, and crop to 2:3 for 4x6, 8x12, or 12x18 frames. Cropping manually ensures important details on the edges are not cut off by the printer.
Is canvas better than framed paper for event photos?
Framed paper behind glass with a mat offers better clarity and color accuracy for candid photos. Canvas textures can obscure small facial details and tend to look soft unless the image is large and painterly.
Snap Eighteen is a shared camera for your event. Guests scan a code, everyone’s photos land in one album, and the album closes when the event ends.
See how it works